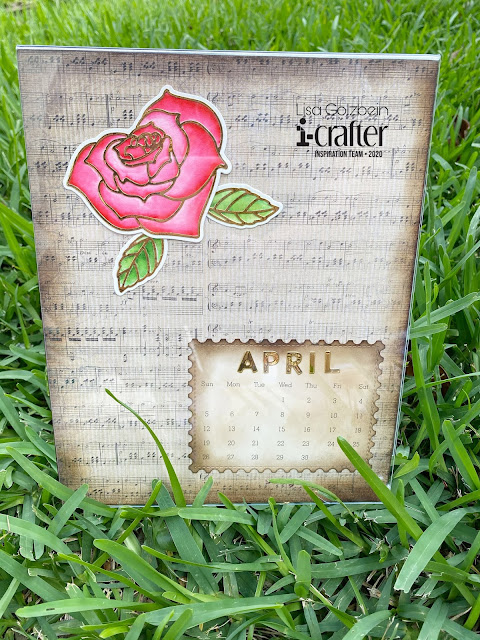
Today I want to share 4 fun projects with you!
They are all made with some fun new dies and gorgeous
embossing folder from i-crafter!
The first project is a re-purposed tin that I decorated and turned into a keepsake that could be used as a jewelry box or to store any fun trinkets! For us crafters it could hold sequins, die cuts or any small items that need some organization!

To begin decorating my box I chose some pretty patterned paper to cover the top of the box. Next, I used the Folded Butterfly Die cut from some pretty floral paper to sit on top of the box. I also used some gold wire to hold the butterfly together and form the antennae.
For the word "dream" under the butterfly I used the
I just love how such quick and easy decorations makes such a lovely piece of decor for you night table or craft room!
-----------------------------------------------------
The next project up today is a shaker card I made using the new Water Lily 3-D Embossing Folder
This embossing folder is like the Cadillac of embossing folders!
The details are stunning and you won't believe the depth that this folder gives to your cards! I used the embossing folder on some kraft paper and used the panel as the base of the shaker card. Next I made a frame from pale pink card stock using a Stitched Scalloped Rectangle die and backed it with an A2 sized acetate sheet. To fill my shaker I used Pale Pink Heart Sequins and some
Sparkling Clear Jewels. For the sentiment on the front of the card I used the "Love" die from the Heart Hand Wiper Insert Dies and the word "you" was cut using the Carly Alphabet Dies. Both words were cut from pink card stock, treated with sticky embossing ink on the bottom half and heat embossed with gold embossing powder. I love the elegance this embossing folder gives to this card!
------------------------------------------------------
The next card up today was actually a collaboration between my friend Niccole and I. Niccole created some beautiful alcohol ink backgrounds for her friends to use any way they wanted to. She asked us our favorite colors and then went about making us some gorgeous backgrounds! Here is the card I created with my handmade background.
I made a frame from pale teal card stock using a Stitched Scalloped Rectangle die and for the sentiment on the front of the card I used the "Love" die from the Heart Hand Wiper Insert Dies and the word "you" was cut using the Carly Alphabet Dies. I used glittered black card stock for the letters to match the elegance of that dreamy background. Big thank you to Niccole for making us those beautiful backgrounds to play with.
-------------------------------------------
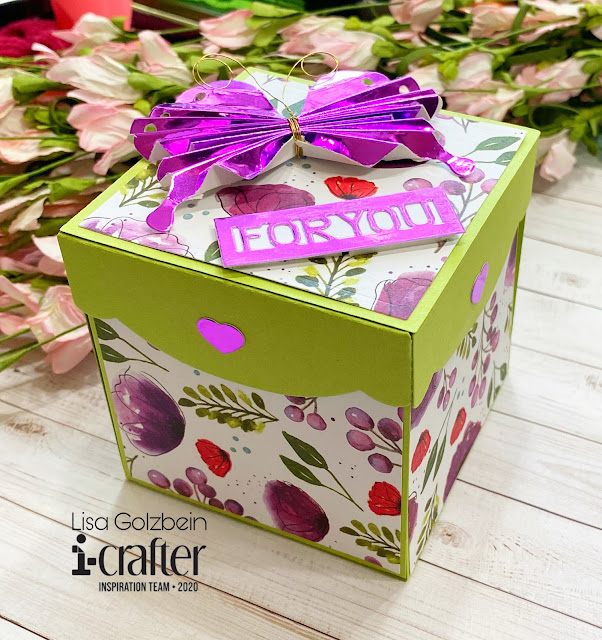
The last project up on my blog today was made from an amazing interactive die from i-crafter called The Exploding Shaker Box.
Here is a description of this amazing product:
A fun exploding gift box with an interactive shaker window to make an exploding shaker box. The box measures 3″ x 3″ x 3″ when closed. Remove the lid and the sides flip open to reveal the contents of the box. Set includes 11 thin metal dies.
It's hard to get an idea just from pictures of all the crafty goodness that went into this box but I sure did have fun making it!
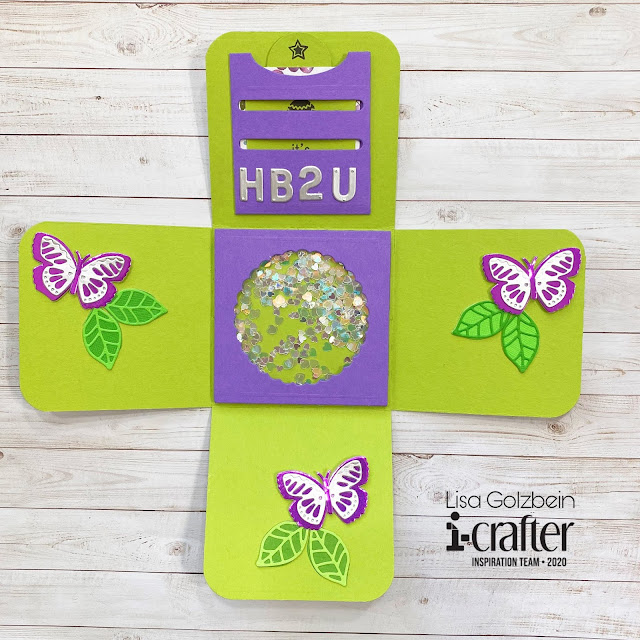
Honestly the sky is the limit when you are creating a box with this die because you can add as much or as little as you like. You can add pockets and windows and shakers and layers and so much more! Here is a look at the inside of the box when the top is lifted and it falls open.
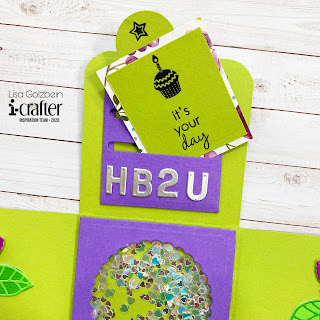
Isn't that shaker window at the bottom of the box fun? You can fill it with any shaker bits you want! I used some pretty Mirrored Hearts in my shaker for some sparkle and shine. I decorated the 4 walls with some butterflies from the Floral Garden Dies and I used the HB2U die from the Zip Gift Tag Dies.
This set even comes with a pocket die so you can make a small insert to stamp or write a message on. How cute is that!
To top off my beautiful box I die cut the Folded Butterfly Die out of purple foil card stock and added the "For You" sentiment from the
---------------------------------------------------------
Thank you so much for joining me today on my blog! I had a lot to share with you and I hope you'll check out the i-crafter shop and blog for some more crafty inspiration!
You can also find lots more projects at the
i-crafter Fan Club on Facebook!
Have a great day, I already am!
🦋 Lisa 🦋


