Showing posts with label Stitched Scalloped Square Dies. Show all posts

Sunday, January 12, 2020

Lacy Layered Love card and an Announcement


Good morning crafty friends!
I have some exciting news to share today! As of today I am once again
joining the Kat Scrappiness design team. I am so happy to be back on the team 
and designing for Kat again! Those of you who shop at Kat Scrappiness often know 
what a variety of crafty products she carries in her online shop, not to mention the
growing number of products being released under the Kat Scrappiness brand.
And all of this at excellent prices!
All of my nested background dies are from Kat and I reach for them 
on almost every card I make!

For my first project back on the team I made a Valentine's Day
inspired card to put you in the mood for the new release!
You're definitely going to want to check back in the shop on 
January 17th, 18th and 19th to see all of the wonderful new Valentine's products
being released!

Here is the recipe for today's card:

1) Cut a panel of white Bristol Smooth Cardstock with the largest die in the 

2) With the My Favorite Things Cloud Stencil, blend some 
Tumbled Glass Distress Oxide Ink on your scalloped panels
in varying heights. Adhere stenciled panel to square card base.

3) Die cut the solid heart from the Lacy Layered Heart Die 
from Bristol Smooth Cardstock and the Lacy cover die from vellum.

4) Do some ink blending in rainbow colors on the solid heart and then 
lay the lacy vellum over the rainbow heart.  It looks so pretty to see the 
pretty rainbow colors peaking through the lace.

5) Lastly adhere the heart shaped die to the cloud blended background 
and die cut the word "love" from the I Love You Shadow Dies 
out of silver foil cardstock. Adhere the "love" die cut over the lacy heart.


Here are the Kat Scrappiness products used on my card:


That's all for today's card, don't forget to follow Kat Scrappiness on all
social media platforms to be alerted to new release, sales and giveaways!


Have a great day, I already am!
๐Ÿ’˜Lisa ๐Ÿ’˜

Monday, February 25, 2019

Easter Bunny Cuteness


 Happy Monday morning!
What better way to cheer up a Monday morning than with some 
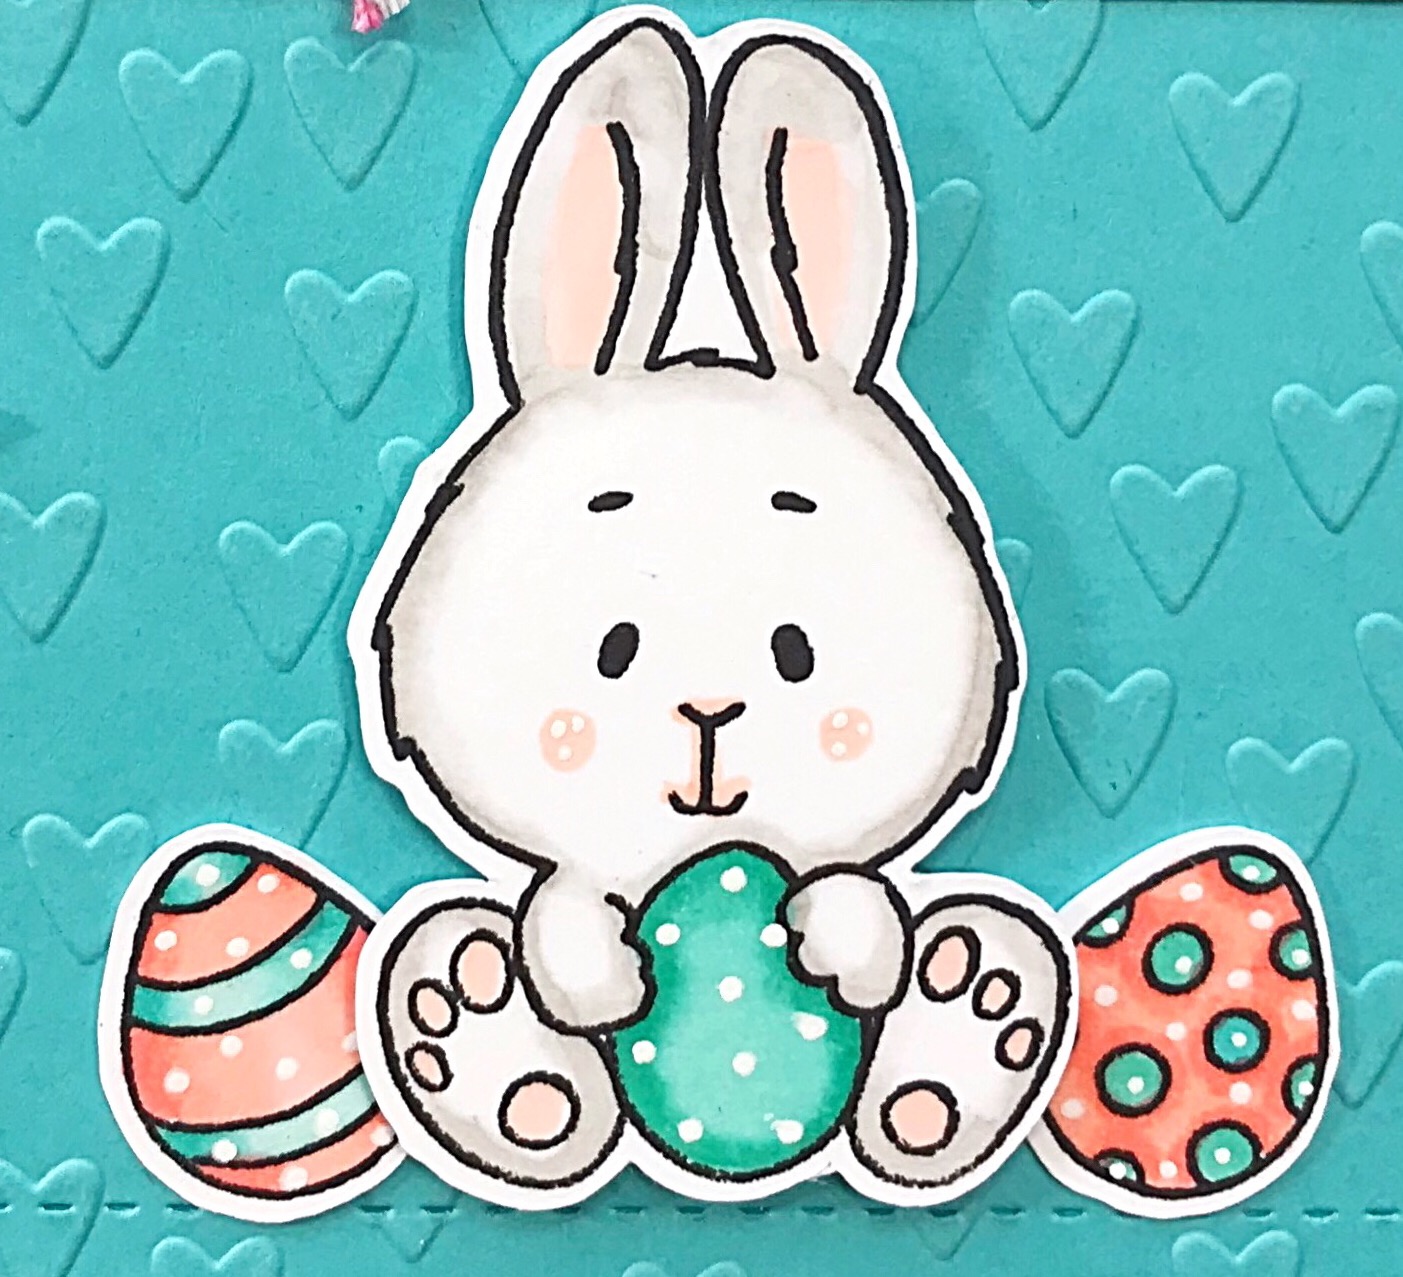
adorable Easter bunny cuteness!
This sweet little bunny comes from the Gerda Steiner stamp set


I colored her up with my Copic markers and popped her onto a 
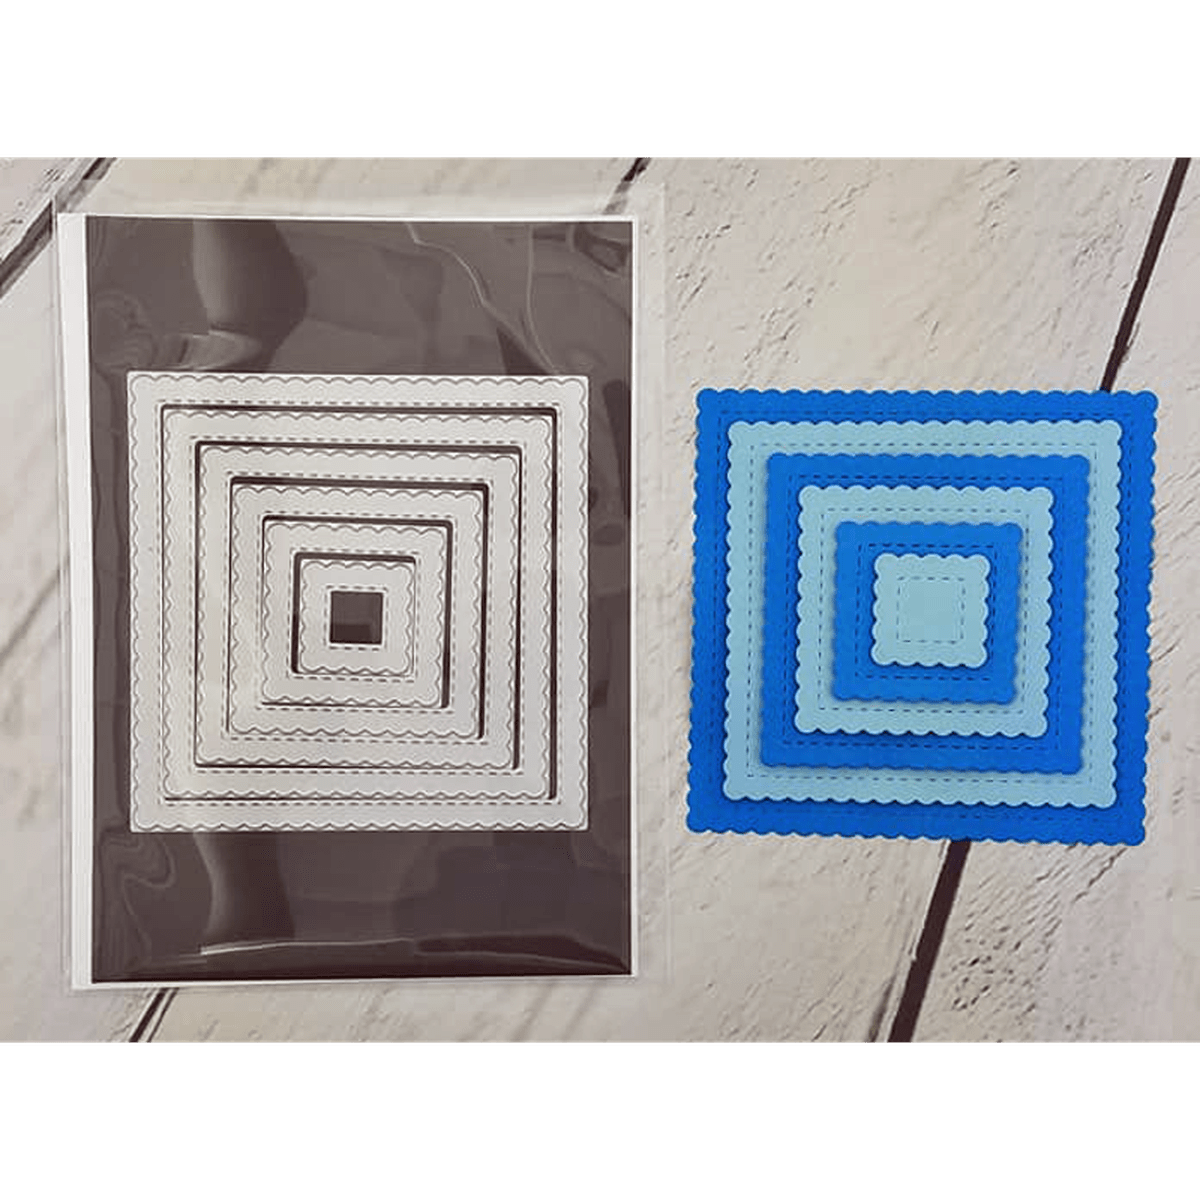
heart embossed panel that I cut out using the Stitched Scalloped Square dies.
The card base is also made from the Stitched Scalloped Square dies.
I love making shaped card bases from scalloped dies!
The sentiment was stamped on to a panel cut from 
and I added some pretty Teal Jewels on either side of it.


If you want to pick up any of these fun supplies at a discount
than head over to Kat Scrappiness and use code
Lisa10
You can save 10% on your total purchase anytime!
Have a great day everyone!
I already am!
๐ŸฐLisa ๐Ÿฐ

Monday, February 11, 2019

Watercolored Mandala Card with Video


Good morning crafty friends!
I'm up on the Kat Scrappiness blog today with a 
card I'd like to share with you using one of the newest dies in the store!
It's called the Mandala die and it cuts a beautiful intricate pattern
into your project. Today I've used a water coloring technique called ink smooshing
(yes it's a thing)๐Ÿ˜†
I used 3 different color distress inks:
and

This technique is easy and fun to do and you can get beautiful
results every time! There are so many color combinations you 
could use depending on your favorite colors.
Here is a video I made to show you the ink smooshing technique.
You can watch it here or on YouTube.


Thanks so much for joining me today.  I hope you'll give this technique a try!
It's lots of fun and it looks beautiful with minimal effort.
Don't forget to use my code Lisa10 to save 10% on your 
order anytime at Kat Scrappiness!

Have a great day, I already am!
๐ŸŽจLisa๐ŸŽจ


Thursday, November 29, 2018

Cold Twigs ~ Warm Heart


I'm excited to share a project with you today that I made for the Kadoodle Bug
Design Team. I created a shaker tag with the Cold Twigs Snowman and 
I am so happy with the way it turned out!
If you have seen any of my projects on Instagram or Facebook over the last 2 days
you'd see that I've gone snowman crazy! I just can't stop creating projects with
these fun Snowmen! A friend of my mom asked me to create some tags and
a card for her with a snowman on it and I just kept going from there.
For today's project I cut out the Cold Twigs Snowman SVG out with my 
Scan n Cut and inked all the pieces before putting him together.  
I used the largest tag to cut out 2 pieces using matching patterned paper from the 
Lawn Fawn Into the Woods paper pack. Next I took a square die from the 
Stitched Scalloped Square Dies and cut a window out of one of the tags.
I backed the window with acetate and framed it off with foam tape.
Next came the fun part, picking out shaker bits!
I used 2 different sequin/sprinkle mixes for my tag.
and
They really complimented each other and picked up the red and blue in the snowman!
All that was left to do was finish off the tag with some ribbon at the top.
I used some gorgeous Oatmeal Seam Binding from Paper Sweeties and tied 
some red and white twine around it.

For the sentiment I printed it off of my computer on white paper and 
inked the edges for some dimension.

This project was a lot of fun to make, thanks for stopping by today!
If you'd like to pick up any of the Kat Scrappiness products I used today
you can use my code Lisa10 to save 10% on your purchase!

Have a great day, I already am!
☃️Lisa ☃️